Flaky paint on the ceiling is not only unsightly but also a dead giveaway that something is wrong. Whether due to moisture, poor surface preparation, or merely age, peeling paint makes all the difference in how your home looks. Fortunately, with the right tools, proper technique, and a bit of patience, you can have a fresh-looking ceiling again.
As a reputed painting company, we have came up with a complete guideline to help you out. Here’s how you can repair flaky paint on the ceiling step by step.
Step 1: Find the Reasons Why Paint Flakes Off the Ceiling
Peeling paint never just happens; there is usually an underlying cause. One should find out the reason, before beginning what the cause is so it doesn’t happen over and over again.
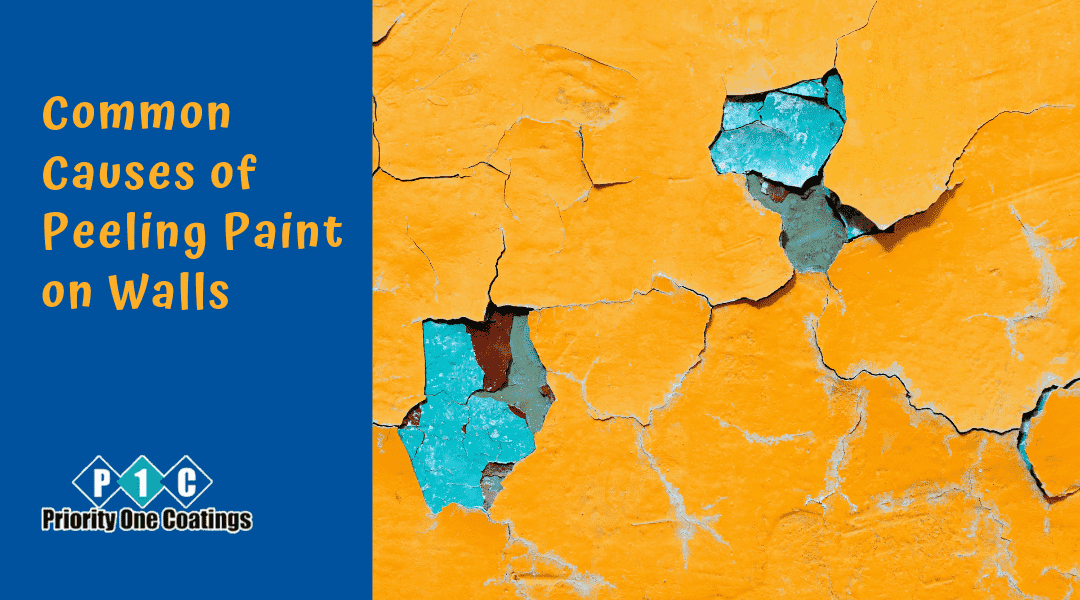
Most often, high humidity causes paint to bubble and eventually flake off. Poor adhesion due to improper surface preparation, such as painting over dirt or grease, is another common cause. Finally, with time, paint layers lose their elasticity and start cracking.
Step 2: Gather Your Tools
Starting a project without the proper tools is like trying to cook without ingredients—it just doesn’t work. For this project, gather the following supplies:
- Protective sheets or drop cloths
- Painter’s tape
- Ladder or step stool
- Scraper or putty knife
- Sandpaper (medium and fine grit)
- Spackle or joint compound
- Primer (preferably stain-blocking or moisture-resistant)
- High-quality ceiling paint
- Paint roller, brush, or sprayer
Step-3: Prepare Work Area
Proper preparation not only saves cleanup time but also gives you a professional-looking result. Begin with clearing the area beneath your ceiling. Move furniture completely, or cover it with drop cloths to protect it against dust and paint splatters. Next, mask adjacent walls or fixtures with painter’s tape for a crisp, clean edge.
Step-4: Scraping Away Loose Paint
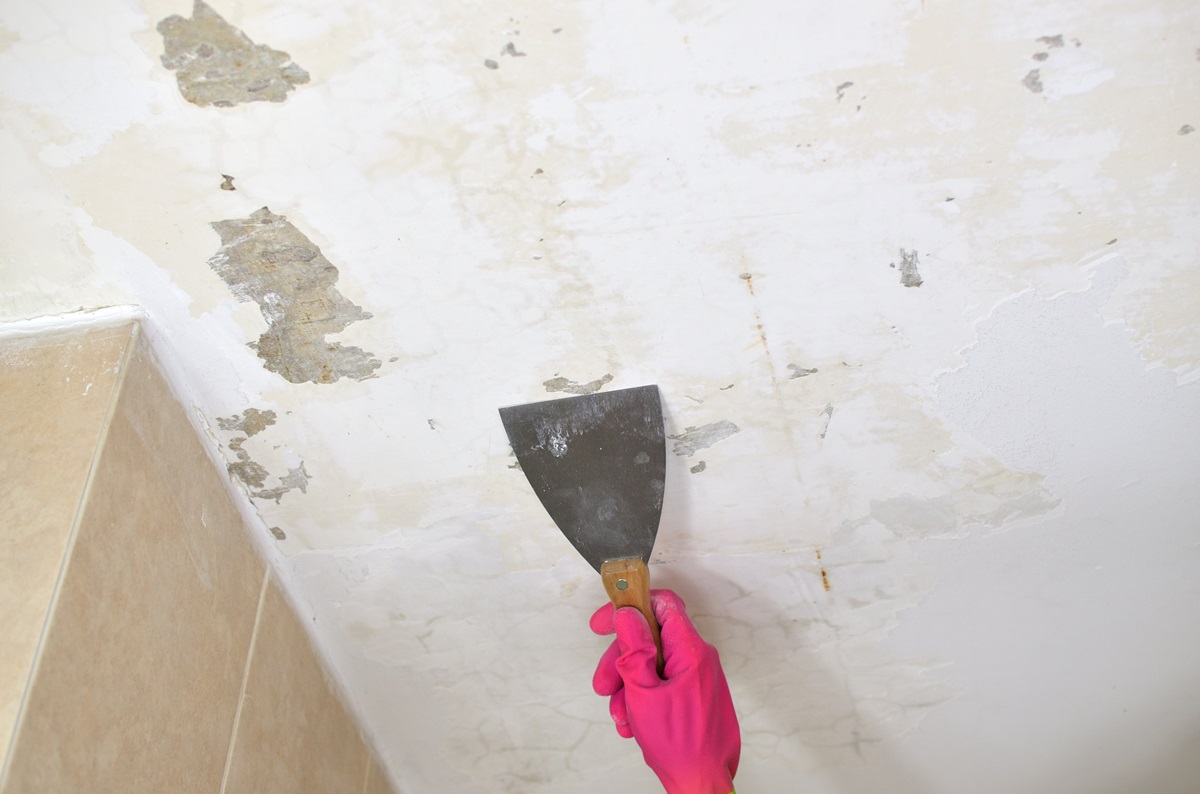
To fix flaky paint, you first have to remove the damaged areas. Using a scraper or putty knife, carefully scrape off any loose or peeling paint. Be careful not to gouge the ceiling surface.
If the flaky area is large, you may see layers of old paint flake off in chunks. Go slow- the outcome of this step will make your paint lasts for years to come.
Step-5: Smoothing Out the Surface
The secret of a perfect paint job is having a smooth surface. Following scraping, you will probably have an uneven surface. That’s where joint compound becomes your friend. Apply it to any holes, cracks, or gauges, feathering it with a putty knife.
Allow the compound to dry, then sand the entire area with medium-grit sandpaper for a smooth finish. Use fine-grit sandpaper to feather out everything, making sure it is level and ready for painting.
Step 6: Clean the Ceiling Thoroughly
The paint would not stick to a dirty surface, and thus, this step is unavoidable. Using a damp sponge or cloth, clean the ceiling from dust, grease, or other substances that could remain from sanding. If it’s a bathroom ceiling, eliminate any mildew using a water-mild detergent mix. Allow the ceiling to dry entirely before moving on to the next step.
Step 7: Applying a Quality Primer
A good primer is the beginning of a hard-wearing, even finish. Pick up a stain-blocking or a moisture-resistant primer, depending on whether the peeling paint issues came from moisture. Besides ensuring better paint adhesion, priming will also help avoid future problems, which may include staining and bubbling of the paint.
Lay the primer on with a roller or a brush, ensuring it fully covers all areas of the repair. Let it dry completely according to the manufacturer’s instructions before painting.
Step 8: Paint the Ceiling
Now, it’s time for the fun part—painting! Pick out a high-quality ceiling paint that fits the room’s purpose. For instance, a bathroom or kitchen will require moisture-resistant paint to avoid peeling problems in the future.
Paint a cut-in with a brush and then roll the larger areas. It is always better to paint two thin coats rather than one thick coat to get an even finish. This prevents drips and uneven textures. Let the first coat dry completely before applying the second coat.
Conclusion
Flaky paint on the ceiling does not have to be a nightmare. Following these steps, you can easily achieve a new and durable finish. Whether you or a professional gets the job done, acting in time will help your house regain its beauty and value.
Moreover, if you want to rejuvenate your flaky ceiling with expert house painter in Sydney, you can contact Priority One Coatings for a quote.

