Painted ceilings can give the aesthetics of your house a new dimension. You can experiment with the entire look of your room just by changing the colour of the ceiling. For example, you can incorporate a vibrant colour that complements the hue of the walls and goes well with the other interior elements or choose a similar shade to create a fresh monochromatic theme. No matter which colour you go for, you might have to constantly fight against gravity to avoid any splattering.
Now you must be wondering, how to paint a ceiling mess free? Preventing splatter is undoubtedly not an easy task while you paint the ceiling, but following some techniques might help. Before moving towards the tips, let’s understand the reasons behind paint splattering.
Why is my paint splattering?
- You might be using a low-quality roller cover.
- The paint you bought is a lower-grade latex paint.
- You are rolling paint with too long a nap or too fast.
- The roller is being overloaded with lots of paint.
- You are a beginner and don’t know the proper technique.
How to paint a ceiling without splattering paint?
Now that you know the reasons, we will be sharing some easy tips to avoid messing up the next painting project for your house in Sydney.
Before starting to paint-
- Organise the space: You have to be aware that while painting the ceiling, a few stray paint droplets could fall to the floor despite your best efforts. Even if you are hiring the best house painter in Sydney, before they start working, it’s your responsibility to prepare the room. Drop cloths must be placed over your furniture and floor before you begin painting in order to shield them from paint drips. Light fixtures and other appliances should be removed from the room if possible.
- Prepare the ceiling base: When the base is rough, the paint doesn’t stick well with the surface and increases the chances of splattering. To start preparation, thoroughly clean the ceiling surface to get rid of any cobwebs, dust, or debris. Look for any holes or cracks in the ceiling, fill them in with putty or spackle, and let them dry. After drying, ask the painter to smooth any rough spots on the ceiling and the repaired areas with fine-grit sandpaper.
During the painting project-
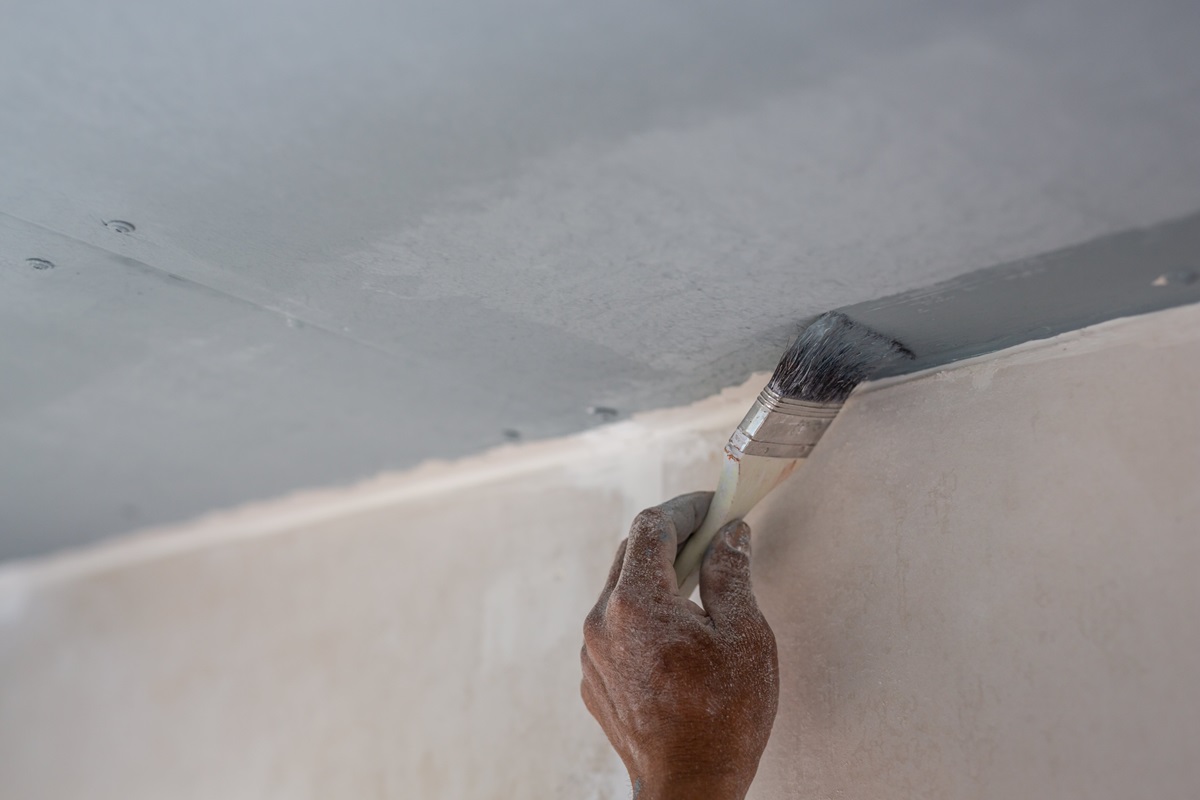
- Choose the right tools: After getting good-quality paint, using the appropriate tools is essential when applying paint. The most effective and efficient tool for painting a ceiling is a roller. Because ceiling paint is a thicker paint formulation than wall paint, a ½-inch nap roller is perfect for smooth, non-textured ceilings. Also, ask your residential painters to keep old clothes by their side to clean any spills immediately.
- Use the correct technique: To get the desired coverage, starting small and applying the least amount of paint possible is a good way. Splatter can be minimised by dipping the roller often while using less paint. Expert residential painters in Sydney always paint ceilings carefully and try to slow down a little. This reduces excessive splatters and drips.
Finishing tips-
- Clean up the whole space: After applying the paint and getting the desired level of coverage, let it completely dry. Usually, this takes a few hours. Inspect the ceiling for any areas that might require additional paint or touch-ups, and use a tiny brush to smooth out any flaws. Once the painting is done, remove the coverings from the furniture and floor. When you hire professional painters, they usually take care of the after-paint clean-up service with expert hands. Still, check everything by yourself, and if you find any sign of paint drops on the floors, clean it immediately.
No matter how careful you are, painting a whole ceiling all by yourself is definitely not the best idea and will create a mess. So, the first step to ensure a less splattering ceiling painting experience is hiring professional house painters and asking them to follow the above steps. To get experienced painters yet affordable residential painting services in Sydney, call us today.