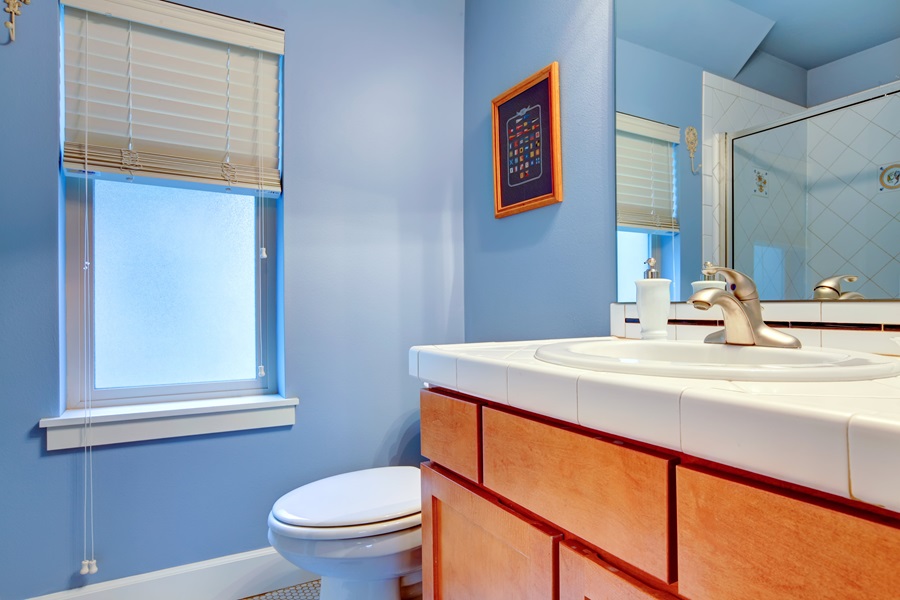
Painting a bathroom comes with its own set of challenges. It is totally different from painting any other room in the house. Bathroom painting requires special attention to detail because this place frequently comes into contact with water. Working with so many fixtures is also not an easy task. Expert house painters can renovate your bathroom, handling all the challenges with care. But if you want to do it yourself, you need to know some tips and tricks first.
Let’s explore the practical tips together to make your task easier.
1. Choosing the Right Paint
One of the most important decisions when painting a bathroom is choosing the right type of paint. The paint type you choose will determine how well it holds up in a humid environment.
- Mildew-Resistant Paint: Bathrooms are prone to mould and mildew growth. Look for paint that has mildew-resistant properties, ensuring it lasts longer.
- Semi-Gloss or Satin Finishes: These finishes are long-lasting and easy to clean, making them perfect for bathrooms. They also resist moisture better than flat finishes.
- VOC-Free Paints: Bathrooms tend to be enclosed, so low- or zero-VOC (volatile organic compounds) paints are healthier options, reducing fumes and odours.
2. Prepping the Bathroom Surface
Before you pick up your paintbrush, make sure your bathroom walls are properly prepped. Begin by cleaning the surfaces to eliminate any dirt, soap scum, or mildew. Use a mild cleaner or a mixture of vinegar and water to scrub the walls. If you notice any mould, treat it with a bleach solution to prevent future growth.
Once the walls are clean, sand them lightly to create a smooth surface. If there are any cracks or holes, patch them up with spackle and allow them to dry before sanding.
3. Proper Ventilation
Ventilation is one often overlooked aspect of bathroom painting. A well-ventilated bathroom is less likely to suffer from moisture build-up, which can lead to paint damage. Ensure adequate ventilation by opening windows and using the exhaust fan while painting and afterwards. This helps speed up drying time and reduces the risk of bubbles forming under the paint.
4. Painting Around Fixtures
Bathrooms are cluttered with fixtures like sinks, toilets, and towel racks, which are hard to work around. When painting, as many of the fixtures as possible should be removed before painting. If removal is not possible, paint in conjunction with painter’s tape to shield fixtures and create a neat edge when painting around fixtures.
5. Two-Coat Rule
For the best results, apply two coats of paint. The first coat provides a base, while the second coat ensures an even, durable finish. Allow each coat to dry entirely before applying the next to prevent peeling or uneven texture.
6. Drying and Curing Time
Patience is key when painting your bathroom. Allow plenty of time for the paint to dry between coats and fully cure before exposing it to moisture. Typically, paint takes about 24-48 hours to dry, but it may take up to two weeks to fully cure. During this time, try to minimise hot showers or any activity that could increase humidity.
7. Adding the Final Touches
Once your paint has dried and cured, it’s time to replace any fixtures you removed and clean up any spots where the paint might have dripped. Adding a fresh coat of paint to your baseboards and trim can also help elevate the overall look of the room.
Last words
Bathroom painting is a daunting task. But with the proper preparation and attention to detail, it won’t be a stressful experience. By following these beneficial tips, you can ensure a stunning, long-lasting finish to transform your bathroom into a refreshing and stylish retreat. Take the time to plan your project, and you’ll enjoy the results for years to come.
Moreover, if you want to renovate your bathroom with the help of professional painters, you can consult with an experienced residential painting company like Priority One Coatings.